6 September 2016

Sweet and Sour Fermented Cucumber Salad


This recipe is adapted from Donna Schwenk sweet pickle relish:
https://www.culturedfoodlife.com/sweet-pickle-relish/

This ferment takes only about 2-3 days to make due to the high water content of the cucumbers.
It has pleasant refreshing taste and stays crunchy for a few weeks.

Ingredients:

all ingredients are organically sourced

350 g filtered water (approximately)
1 1/2 medium cucumbers
1 white onion
1 small sweet pepper
4 gloves of garlic
1/2 tsp mustard seeds
1/2 tsp celery seeds
1/2 tsp fennel seeds
1/2 tsp black peppercorns
3-4 florets of celery or dill (optional)
1 1/4 tsp unrefined sea salt or Himalayan pink salt
1 tbsp raw unpasteurized honey (or unrefined cane sugar)
2 tbsp previous brine (omit when making for the first time)

Equipment:

around 800 ml glass jar with a lid (can use recycled)
measuring spoons (optional)
kitchen scale (optional)
medium mixing bowl
chopping board
sharp knife

Directions:

Wash the jar and sterilise if desired. Measure out all the  spices except salt and honey and keep them aside for now in a little bowl.


Slice the vegetables


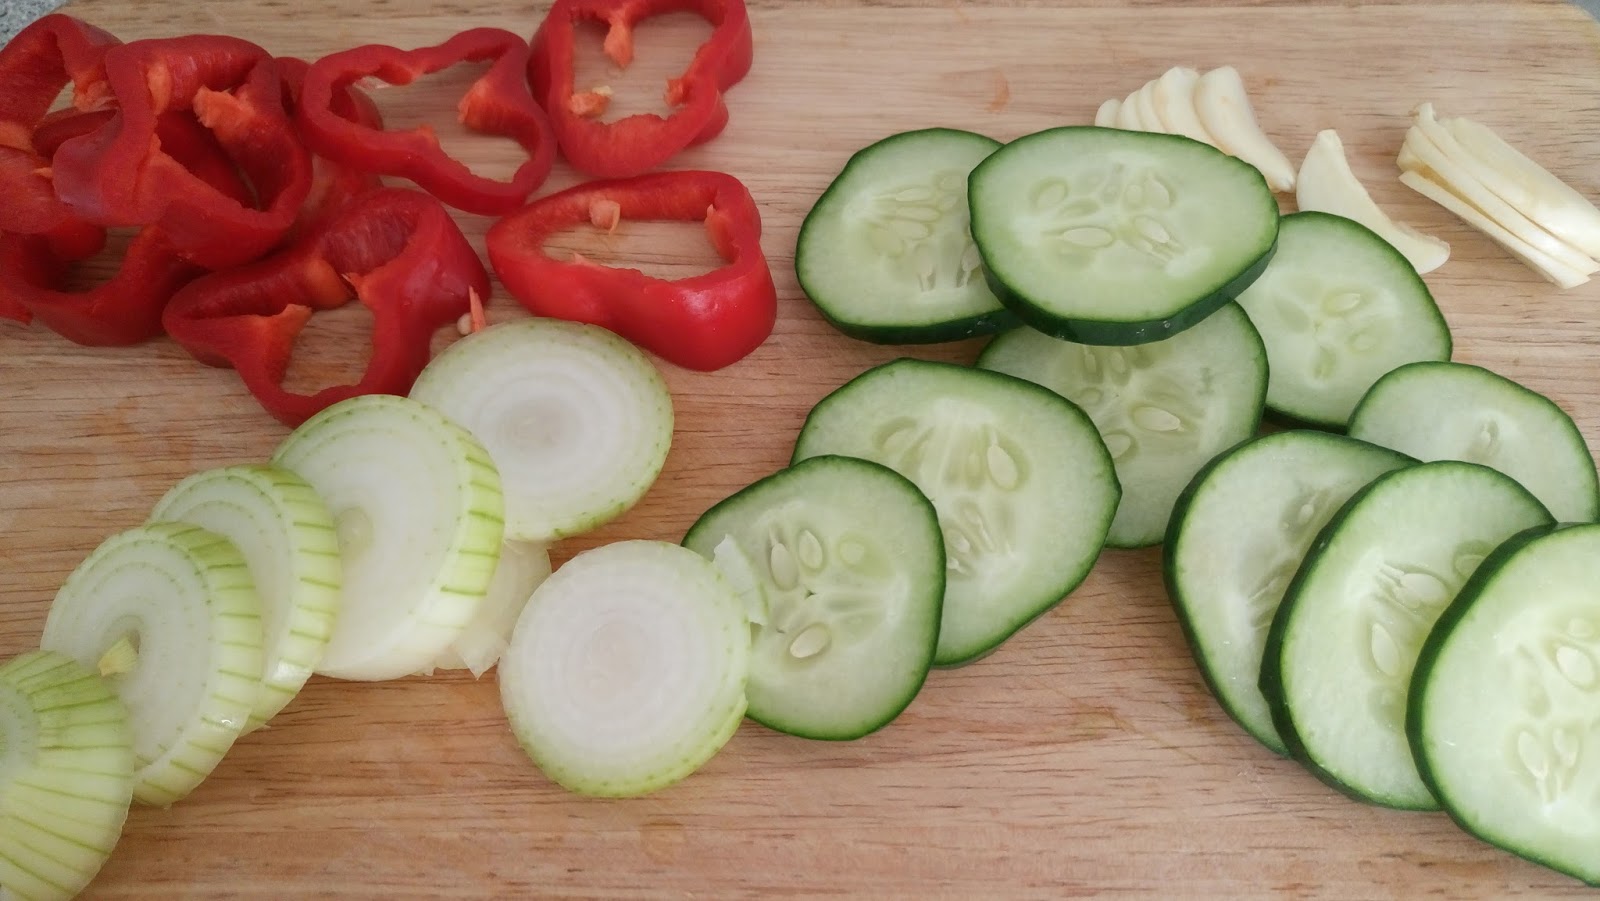
and pack into the jar pressing them down very lightly with your hands and cover with filtered water to determine the amount of water needed. Keep the top of the liquid 4-5 cm below the top of the jar.
If making this recipe using the previous brine then remember to leave some space to add the brine later. Holding the vegetables with your fingers pour the water out into a mixing bowl and add honey (sugar) and salt, stir it to dissolve everything well. Then put all the spices into the jar and fill it with sweet and salty water. Add the brine from the previous batch at this point, if using.


Cover tightly with the lid and leave to ferment at room temperature and away from direct sunlight for 2-3 days.


Around the second day, you will see small bubbles on and in the ferment when you open it to check, this means that beneficial bacteria is actively transforming your fresh vegetables into pro--biotic condiment.
Then place into the fridge. I usually give it an additional day in the fridge and then start eating it.

I tried the same recipe for cherry tomatoes and it took around 7 days to be ready. The tomatoes had nice taste and texture but the accompanying vegetables (I only used garlic and onion) became slightly slimy, which was not very pleasant.


30 July 2015

Fermented Carrots, Cauliflower and Garlic.

This recipe is very popular with kids and adults alike. Very good as finger food and cocktail snack.
This is very easy to make, ready within a week.


1 medium cauliflower
2 - 3 large carrots
5-6 roots of jerusalem artichokes (optional)
1 - 2 heads of garlic

1 tsp juniper berries (optional)
1 tsp black pepper corns
6 bay leaves
1 tbsp sea salt per 750 ml of water
filtered water
clean glass jar/s with lid/s

Wash vegetables, clean the leaves off the cauliflower, cut it up into florets or smaller, peel carrots and cut into 2 cm cubes or as preferred, peel the garlic, large cloves can be cut in half or quartered.

Take large enough clean glass jar, place garlic at the bottom, then pack the carrots and cauliflower, make sure that the jar is big enough to allow minimum of 3 cm space between the veg and the mouth of the jar.

Fill in the jar with filtered water to measure how much water will be needed, make sure that water covers the vegetables completely and there is still 3 cm space between water and mouth of the jar. Holding the vegetables in place pour all the water out of the jar into a bowl, weigh it down so you know how much salt to use, now add the sea salt to the water and mix it properly, make sure to dissolve the salt in water completely, this might take a few minutes.

Put the spices into the jar, pour the salty water back into the jar, close the jar tightly, cover with kitchen towel to prevent the light affecting the fermentation process and leave at room temp somewhere on the kitchen counter for 7 days (in warm weather 6 days might be enough) to ferment.


Make sure to check the vegetables at least once every day, burp it, taste it and push it under the water if needed, there will be some visible bubbles which indicate that the fermentation process is very active.


After a week transfer to the cold storage/fridge and start consuming.

Fermented Spicy Carrots


This recipe was inspired by my childhood memories of my mother making what we used to call 'Korean' Carrots that was a marinated condiment using vinegar, oil and sugar among other things. I really liked the flavour and decided to replicate the taste but wanted a healthier dish. I have been quite crazy about fermented foods and condiments during the past couple of years and so used the fermentation for this recipe.

Ingredients:

3-4 carrots
1-2 medium garlic cloves
1 medium hot chilli pepper
1 medium sweet apple
rind of 1/2 lemon
2 cm ginger root
1/8 tsp ground cayenne pepper
1 - 1.5 tsp ground coriander
2 tsp coriander seeds
1 -2 tsp sea salt

Instructions:

Peel the carrots and julienne them using a mandolin slicer or a knife, place in a bowl. Julienne garlic, chilli and peeled ginger root. Try to cut the ginger root as finely as you possibly can. Sprinkle the salt over the vegetables, add the lemon rind, add the ground spices and the coriander seeds, mix everything up properly. Peel the apple and julienne it as well, add to the carrots, mix well, cover with a lid or a plate and leave to rest for up to few hours so it releases enough juices.


After 30 min or up to 2 hours place the carrots into a glass jar, I use recycled, press down with a fork or a spoon to submerge the vegetables under the brine to avoid the formation of mould. Make sure to pack the vegetables to leave around 1 cm from the brim of the jar. Cover with the lid tightly and leave at room temperature away from direct sunlight.

Remember to check the carrots every day to make sure that the vegetables are submerged under the brine. Depending on the temperature in your kitchen the spicy carrots will be ready in around 3 days. If it is very warm they might be ready in 2 days. Make sure you taste the carrots every day to notice the change in taste and to determine the readiness.

16 December 2014

Sourdough Bread Rolls / Burger Buns


Ingredients:

50 g unsalted organic grass fed butter/organic grass fed lard at room temperature
100 g raw organic milk
100 g active white sourdough starter
1 organic free range egg
1 tsp unrefined sea salt
1 tbsp raw honey (or other healthy sweetener)
300 g white organic flour (all purpose or strong, unbleached)
organic rice flour for shaping the rolls/buns (optional)
more unsalted butter/lard for greasing and brushing (around 2 tbsp)

Instructions:

Combine all ingredients in a bowl until you have a soft pliable dough.
Cover the bowl with a cling film and leave at room temperature to ferment for minimum of 8 hours or overnight.
In the morning or after fermenting the dough place it into the fridge for 2 hours so it is more manageable later.

After 2 hours melt a few tsp of butter/lard in a small saucepan, grease the glass or stainless steel baking dish of any shape with melted butter/lard.
Take the dough out of the fridge and turn it into a floured (I use rice flour but any will do) working surface and using a knife, a bench scraper or your hands divide the dough into 8-10 parts, make rolls/buns and place them into the greased baking dish 2 cm apart from each other and from the walls of the dish.
Using pastry brush apply the rest of the melted butter/lard on each roll/bun covering them all over.
Cover the baking dish with the rolls/buns with a cling film and leave to rise in a warm place for 3-5 hours or until they double in size and the sides of the rolls/buns are touching each other and the tray.


When ready preheat oven to 220°C, bake the rolls/buns for 15-20 minutes or until golden brown.
Cool them down.

They keep well in airtight container for up to a week, may be even longer I never get to test that as we usually finish ours off within few days.

They are excellent as dinner rolls with main dish and gravy or with plain butter or herby butter especially when still still warm. They are also excellent as burger buns, they are very soft and do not crumble when you squeeze them together with the burger meat in between and are not chewy at all.

Please enjoy and leave your favorite way to eat them in the comments below.


20 November 2014

Sourdough Rye Brick Bread (Kirpichik)

This bread resembles the one we used to have in Soviet Union times and was called Kirpichik (Brick). The bread using this recipe comes out tasting exactly like the one we used to buy in the shop.
This bread is made in 2 stages. First you need to make production sourdough and then the bread itself.
As always I would recommend reading through the whole recipe before starting to implement it.


STAGE 1

Ingredients:

For production sourdough:

50g active rye sourdough starter
75g rye flour
75g filtered water

Instructions: 

In a medium bowl mix together all the ingredients using spatula. It will be a thick paste. Cover the bowl with a cling film and leave to ferment at room temperature for minimum of 8 hours or overnight.

STAGE 2

Ingredients:

all production sourdough (approx 200 g)
350 g filtered water
350 g white strong flour
150 g rye flour
1 tbsp raw honey or sugar (optional)
1 ½ tsp unrefined sea salt

Equipment:

medium bowl for mixing the dough
spatula
stand mixer (optional)
cling film
bread tin

Instructions:

Mix all ingredients together and knead with a spatula or in a stand mixer with a bread hook for 8 minutes, the dough will be quite liquid. Transfer the dough into a medium bowl, cover with cling film and leave to ferment at room temp for a minimum of 8 hours or overnight.

After the initial ferment, transfer the dough into the bread tin (line it with unbleached parchment paper if using nonstick one), the dough should occupy slightly more than a half of the tin, cover with cling film and leave at room temperature to proof for around 5-8 hours. It will rise approx 1.5 times and will be bubbly.


Heat the oven to 220°C Fan/ 240°C and bake the loaf for 30-45 minutes depending on your oven. Bake out of the tin for the last 10 min. Take the loaf out and cool it on the rack covered with the kitchen towel. Make sure it is completely cold before cutting it.


This bread keeps well in a plastic bag for a week which keeps the bread very soft and chewy. I noticed that after a week it starts getting white mould, this is because the water content of this bread is quite high in relation to flour so try consuming it within one week, or you can cut it up and freeze some. You can also keep it in a cloth or paper bag and it will stay without mold longer but will be quite hard.To defrost, simply place in a warm oven for a few minutes if in a hurry or place into a plastic bag in the kitchen counter overnight.

Please enjoy!

PS: This recipe is adapted from Dark Silestian Rye Chleba in the book by Daniel Leader and Lauren Chattman called Local Breads.